How to Set Up a Private Local AI Chat Assistant at Home
Chat assistants have become a daily tool for drafting emails, debugging code, and thinking through problems out loud. Most people use them through a browser tab connected to a company’s servers, which means every conversation, however personal or sensitive, passes through infrastructure you don’t control. For anyone who has paused mid-sentence wondering whether a question is too personal to type into a chat box, that’s a real limitation.
Setting up a local AI chat assistant removes that hesitation entirely. Conversations stay on your own machine, response times aren’t subject to someone else’s server load, and there’s no subscription tied to how often you use it. This guide walks through what’s actually involved in getting a private chat assistant running at home, including the parts that tend to trip people up.
Understanding What You’re Actually Setting Up
A local chat assistant has two main pieces working together: a language model that generates responses, and an interface that lets you talk to it in a familiar way. The model does the reasoning, while the interface handles conversation history, formatting, and settings like temperature or system prompts. Many people underestimate how much the interface matters. A model running through a bare command line feels clunky, while the same model through a polished chat interface feels comparable to the commercial tools people are used to.
Getting comfortable with a local ai chat setup usually starts with picking an interface that handles model management for you, rather than manually configuring API endpoints and prompt templates from scratch. This is where a lot of the initial friction disappears once the right pieces are in place.
Picking a Model That Fits Your Hardware
Not every model needs a powerful GPU. Smaller models in the 7 to 8 billion parameter range run comfortably on a modern laptop and handle everyday conversation, writing help, and light coding tasks well. Larger models offer noticeably better reasoning but demand more memory and patience. A reasonable approach is to start with a smaller model, get the whole pipeline working end to end, and only move to something larger once you know your hardware can handle it without constant slowdowns.
Getting the Interface Running Smoothly
Once a model is installed, the interface is what turns it into something usable day to day. Good interfaces let you save conversation threads, switch between models without restarting anything, and adjust behavior like response length or tone. This is also where features like file uploads or voice input get added, which start to close the gap with commercial chat products.
A frequent stumbling block here is networking. If you want to reach your chat assistant from your phone or another device on your home network, you’ll need to expose the interface on your local network rather than only on the machine it’s running on. This is a one-time configuration step, but skipping it is the most common reason people give up thinking local setups only work in a browser tab on the same computer.
Handling Updates Without Breaking Things
Models and interfaces both get updated regularly, and it’s tempting to always run the latest version. In practice, it’s safer to update one component at a time and confirm everything still works before moving to the next. This avoids the frustrating situation where an interface update and a model update happen together and you can’t tell which one caused a problem.
Making It Part of Your Daily Routine
The setups that actually get used long term are the ones integrated into an existing workflow rather than treated as a separate project. That might mean pinning the chat interface as a browser tab alongside your usual tools, or setting it up so it starts automatically when your machine boots. Small conveniences like this determine whether a local assistant becomes a daily habit or something you forget about after the novelty wears off.
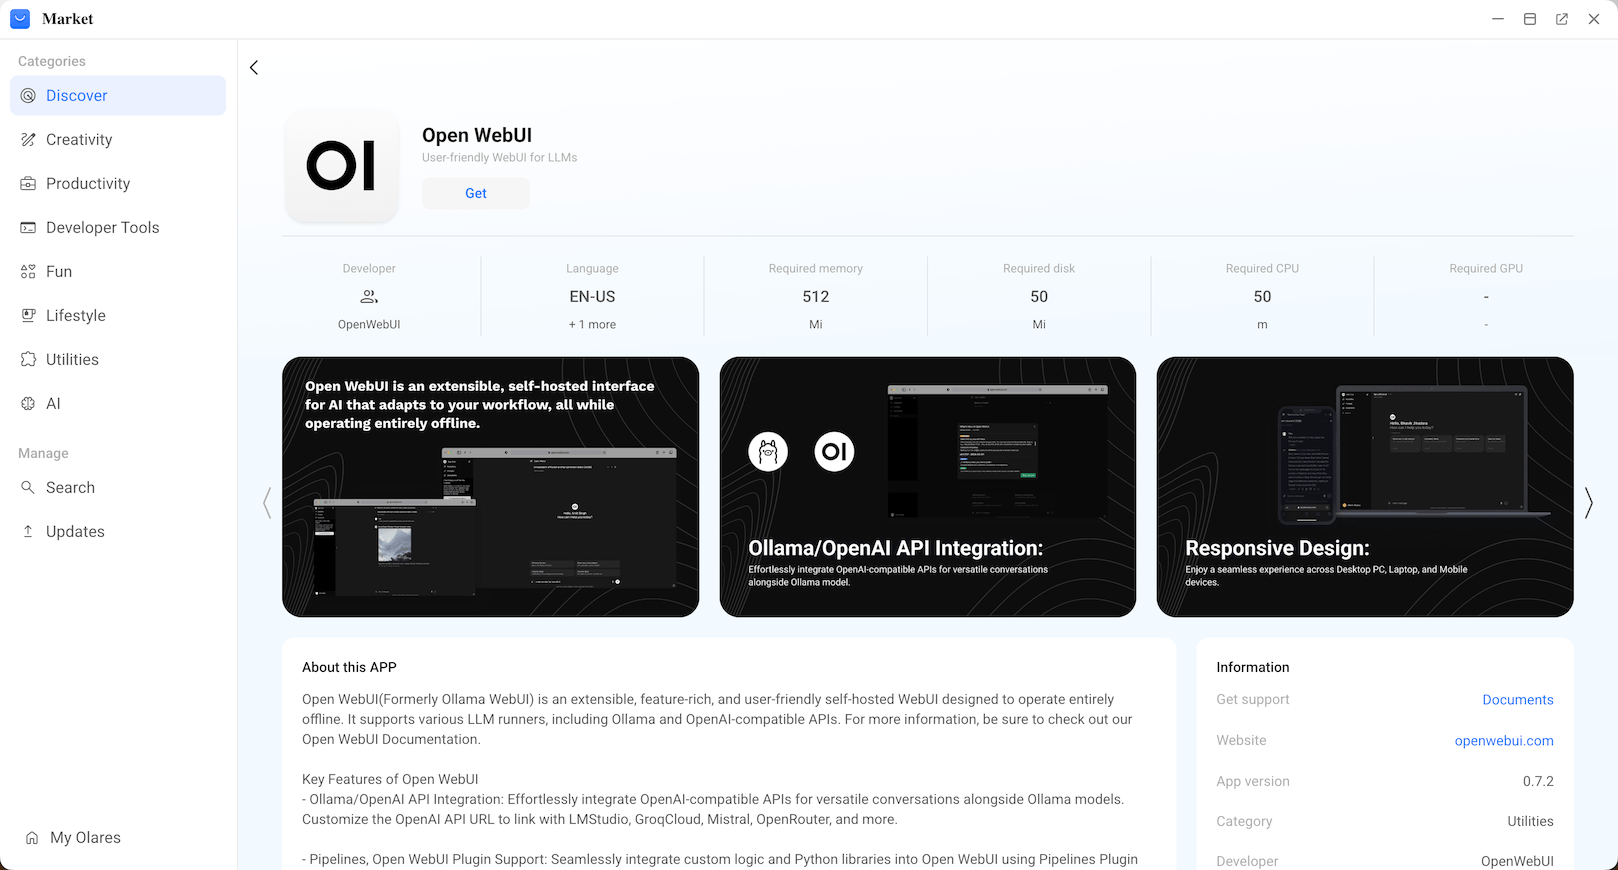
People managing multiple self-hosted apps often reach a point where keeping track of each one individually becomes tedious. Application platforms such as Olares address this by bundling chat interfaces with other self-hosted services under one dashboard, so starting, stopping, and updating them doesn’t require remembering a different command for each tool.
It also helps to periodically review what you’re actually using the assistant for. Conversation habits shift over time, and the model or configuration that felt ideal on day one might not match how you’re using it a few months in. A quick check-in every so often keeps the setup aligned with actual needs rather than defaults you set once and forgot about.
Settling Into a Setup That Works for You
Running your own chat assistant takes more initial effort than opening a browser tab, but the payoff is a tool that respects your privacy and adapts to how you actually work. The setup process outlined here, from choosing a model to smoothing out the interface, covers the parts most people find confusing on their first attempt.
Once it’s running, the maintenance is light: occasional updates, the odd model swap, and periodic check-ins on whether your configuration still fits your needs. For most people, that small ongoing effort is a fair trade for conversations that never leave their own hardware.