Hardwood Floor Refinishing Techniques That Restore Scratched and Worn Wooden Surfaces
Hardwood flooring adds warmth, character, and lasting appeal to residential interiors. However, years of foot traffic, moving furniture, household spills, and everyday activities can leave wooden floors covered with scratches, dull patches, and worn finishes. These imperfections may make an otherwise attractive room appear outdated or poorly maintained.
Fortunately, damaged hardwood floors do not always need replacement. Professional refinishing techniques and carefully selected restoration methods can revive the appearance of existing wood while preserving its natural character.
From removing superficial scratches to sanding damaged surfaces and applying protective finishes, homeowners have several options for restoring hardwood flooring. The right approach depends on the flooring material, severity of damage, and condition of the existing finish.
Understanding Why Hardwood Floors Become Scratched and Worn
Hardwood floors experience constant contact with shoes, furniture, dust, and other abrasive materials.
Even durable finishes gradually deteriorate as small particles are dragged across the surface.
Common causes of hardwood floor damage include:
- Furniture legs scraping against unprotected flooring.
- Sand and dirt creating tiny surface scratches.
- Pet claws leaving marks in protective coatings.
- Excessive moisture causing discoloration or swelling.
- Frequent cleaning with unsuitable chemicals.
- Heavy foot traffic wearing down protective finishes.
- Direct sunlight gradually changing wood coloration.
The severity of damage varies significantly.
Light scratches may affect only the protective finish, while deeper gouges can penetrate the wood itself.
Identifying the difference is important because surface damage often requires less intensive treatment than structural deterioration.
First, Determine Whether Your Floors Need Refinishing
Before purchasing sanding equipment or refinishing products, examine the condition of the floor.
A floor with minor scratches and an otherwise intact finish may benefit from professional cleaning or recoating.
A heavily worn floor with exposed wood, deep scratches, or uneven staining may require complete sanding and refinishing.
Quick hardwood floor condition guide
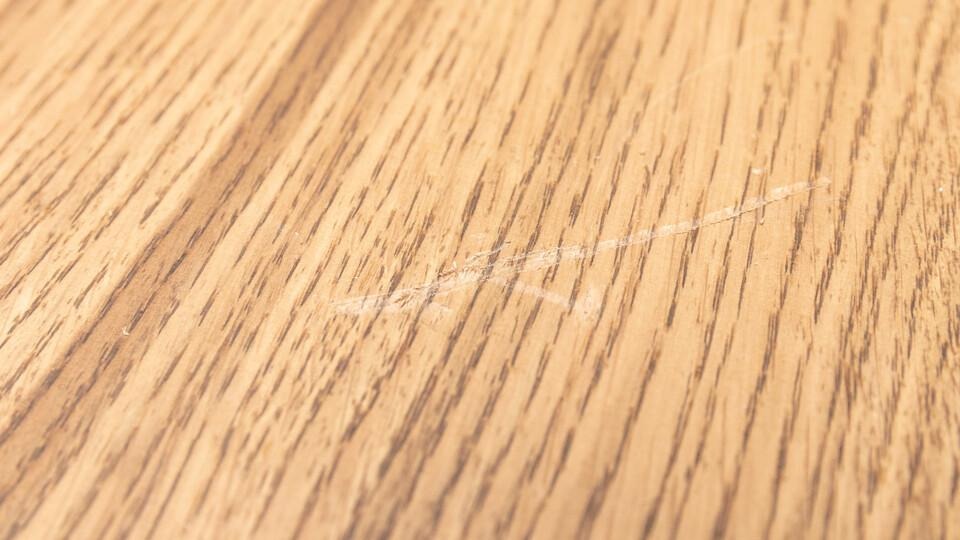
Light surface scratches
Consider cleaning, compatible touch-up products, or recoating.
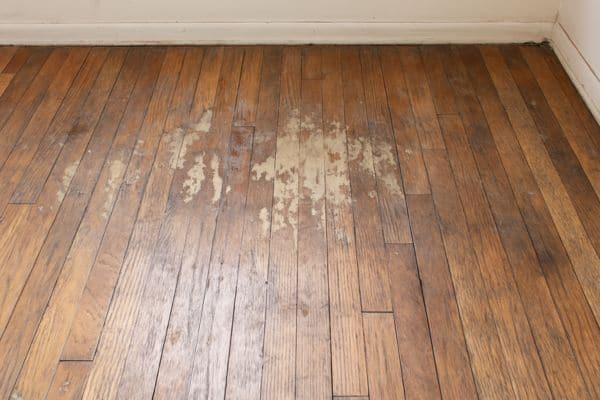
Dull or worn finish
A maintenance coat may restore protection if the existing finish is suitable.
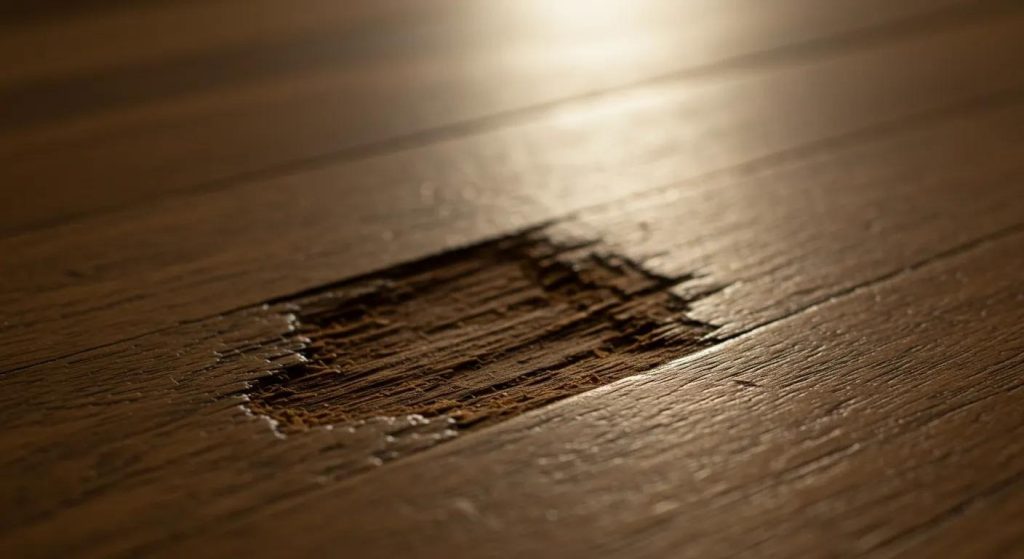
Deep scratches and gouges
Localized repairs or sanding may be required.
Water-related damage
Investigate moisture before attempting cosmetic restoration.
It is also essential to identify the flooring construction.
Solid hardwood can often be refinished multiple times, depending on its remaining thickness and condition.
Engineered hardwood has a real wood surface layer over a supporting core. Its refinishing potential depends on the thickness of that top layer.
Some engineered products cannot safely withstand conventional sanding.
Technique 1: Remove Minor Surface Scratches Without Sanding
Small scratches that affect only the protective coating may not require complete refinishing.
Begin by cleaning the affected area with a hardwood-floor cleaner approved for the existing finish.
Remove dust and debris before applying any repair material.
Certain manufacturer-approved touch-up products can reduce the appearance of minor scratches.
For example, compatible finish repair markers or specialized restoration products may help conceal superficial marks.
However, products containing waxes, oils, or silicone can interfere with future recoating.
Avoid applying household oils or improvised mixtures without verifying compatibility with the floor finish.
For floors with numerous shallow scratches, a professional maintenance coat may provide more consistent results than treating each mark individually.
Technique 2: Use Screen-and-Recoat Refinishing for Dull Floors
Screen-and-recoat refinishing is a practical technique for hardwood floors with an aging protective finish but limited damage to the underlying wood.
Unlike full sanding, this process lightly abrades the existing finish to prepare it for a fresh protective coating.
The process generally involves cleaning the floor, checking finish compatibility, abrading the surface with appropriate equipment, removing dust, and applying a compatible coating.
This approach can restore sheen and reinforce protection without removing significant wood material.
It is particularly useful for floors that look dull or have light surface wear.
However, recoating cannot remove deep gouges, significant discoloration, or damage extending into exposed wood.
A test area is important because some previous cleaning products and floor treatments can prevent proper coating adhesion.
Technique 3: Sand Away Deep Scratches and Damaged Finishes
When scratches penetrate the existing finish and damage the wooden surface, full sanding may be necessary.
Sanding removes the old finish and a controlled amount of wood, creating a fresh surface for staining or protective coating.
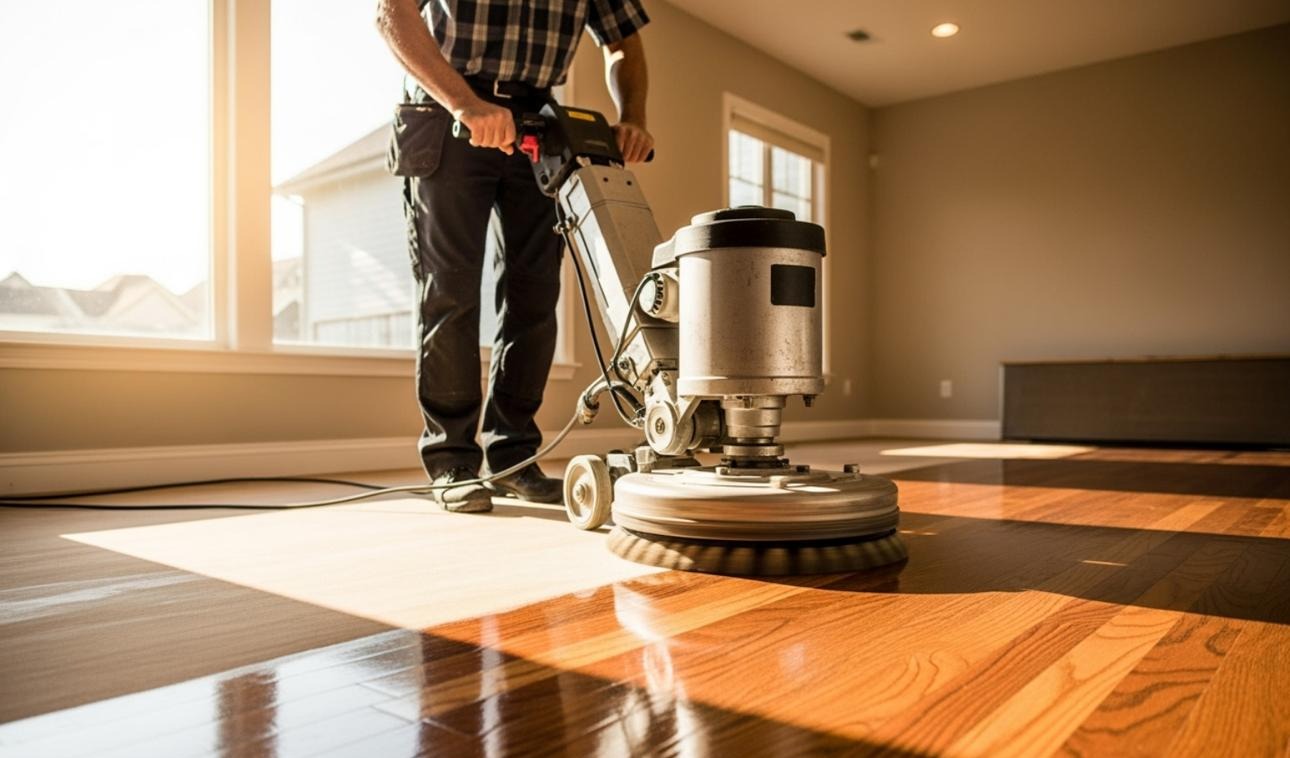
Professional contractors commonly use drum, belt, or specialized orbital sanding equipment, depending on the floor and project.
The process typically begins with an abrasive suited to the existing finish and the amount of damage.
Progressively finer abrasives then remove sanding marks and prepare the wood for finishing.
Edges and corners require separate tools because large floor sanders cannot reach every area.
Excessive sanding can produce visible depressions, uneven boards, and permanent damage.
For this reason, full refinishing requires careful technique and an understanding of the floor’s remaining wear layer.
Older buildings may also contain hazardous coatings or materials that require professional assessment before disturbance.
Technique 4: Repair Deep Gouges Before Applying a New Finish
Deep gouges require additional attention because sanding alone may remove too much surrounding wood.
For small damaged areas, a compatible wood filler may help create a smoother surface.
Choose a filler appropriate for the flooring species and intended finish.
Some fillers accept stain differently from natural wood, so testing is important.
For larger damaged sections, replacing individual boards may produce a more attractive result.
The replacement wood should match the existing floor as closely as possible in species, dimensions, grain, and moisture condition.
After installation, the repaired boards can be blended into the surrounding surface.
Matching an aged hardwood floor perfectly can be difficult because wood changes color over time.
A skilled flooring professional may be able to reduce visible differences through careful preparation and finishing.
Technique 5: Restore Hardwood Floors With a New Stain Color
Refinishing provides an opportunity to update the overall appearance of a room.
Older hardwood floors may have orange, yellow, or dark reddish tones that no longer complement the surrounding interior.
After suitable sanding and preparation, homeowners may choose a different stain color.
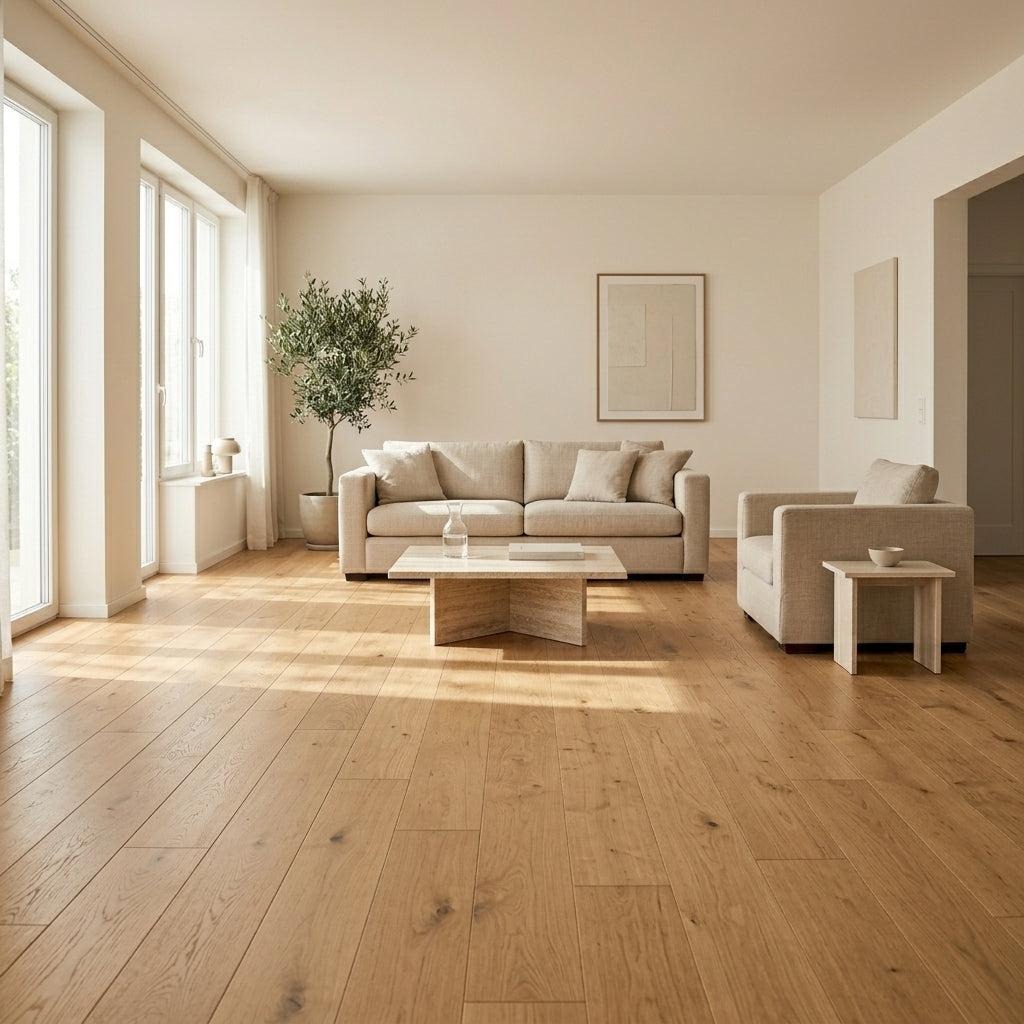
Light natural finishes create an airy, contemporary appearance.
Medium brown tones add warmth and highlight wood grain.
Popular hardwood flooring colors include natural oak, medium walnut, warm brown, and muted gray-brown.
Lighter finishes can make smaller rooms appear brighter, while darker tones create contrast and a more dramatic appearance.
Before selecting a stain, consider the wood species.
Different woods absorb pigments differently, and not every color produces the same results across maple, oak, walnut, or other hardwoods.
Test stain samples on the actual flooring before completing the entire room.
Choosing the Right Protective Finish for Hardwood Floors
The final protective coating strongly influences floor durability, maintenance, and appearance.
Different finishes offer different performance characteristics.
| Finish type | Main advantages | Important considerations |
| Water-based polyurethane | Clear appearance, relatively low odor, faster drying options | Requires proper preparation and application |
| Oil-based polyurethane | Warm appearance and durable protective film | Stronger odor and longer curing requirements |
| Hardwax oil | Natural-looking appearance and repairable surfaces | Maintenance requirements vary by product |
| Penetrating oil | Enhances natural wood character | Usually requires periodic care |
| Factory-applied finish | Durable coating applied during manufacturing | Field repair depends on the flooring product |
Water-based polyurethane is popular for contemporary hardwood floors because it often maintains a lighter appearance.
Oil-based polyurethane generally adds an amber tone that may deepen with age.
Hardwax oils and penetrating finishes can provide a more natural appearance but may require different cleaning and maintenance practices.
Always choose products compatible with the wood species and intended application.
Avoid These Common Hardwood Refinishing Mistakes
Refinishing mistakes can create defects that remain visible for years.
One common problem involves using excessively aggressive sanding equipment.
Removing too much wood can shorten the lifespan of solid flooring or permanently damage engineered hardwood.
Another mistake is failing to remove sanding dust before applying the finish.
Residual dust can become trapped in the coating and produce a rough surface.
Applying thick finish layers may create bubbles, uneven curing, or visible application marks.
Skipping compatibility testing can also lead to adhesion problems.
Homeowners should avoid placing furniture back onto newly finished flooring before the coating has sufficiently cured.
Dry-to-touch time is not the same as full curing time.
Follow manufacturer instructions for foot traffic, furniture placement, rugs, and routine cleaning.
Managing Moisture Before Refinishing Wooden Floors
Moisture-related problems require investigation before refinishing begins.
Hardwood naturally expands and contracts as environmental moisture conditions change.
However, excessive moisture may cause cupping, swelling, staining, or other forms of deterioration.
Sanding a cupped floor before correcting the moisture problem can create additional damage.
The source might involve plumbing leaks, crawl-space humidity, inadequate environmental control, or water intrusion from adjoining areas.
A flooring professional can evaluate moisture conditions using appropriate testing methods.
Allowing the floor to stabilize under suitable indoor conditions is essential before deciding whether sanding or board replacement is necessary.
Refinishing should be performed only when the underlying moisture problem has been resolved.
DIY Refinishing Versus Professional Hardwood Restoration
Some minor hardwood floor repairs are suitable for homeowners with basic tools and careful preparation.
Cleaning, compatible touch-ups, and certain maintenance procedures may be manageable without specialized equipment.
Full sanding and refinishing involve greater complexity.
Professional contractors have access to suitable sanding equipment, dust-control systems, and finishing experience.
Improper sanding can permanently damage the floor, making professional restoration more cost-effective in difficult situations.
Consider professional assistance when the flooring has deep gouges, widespread unevenness, significant moisture damage, or an uncertain engineered wear-layer thickness.
The decision should be based on repair complexity rather than project size alone.
Protecting Refinished Floors From Future Damage
Once hardwood floors have been restored, preventive maintenance helps preserve the results.
Place protective pads beneath furniture legs to reduce scratching.
Use entryway mats to trap abrasive dirt before it reaches the flooring.
Sweep or vacuum regularly using equipment approved for hardwood surfaces.
Clean spills promptly and avoid excessive water during routine cleaning.
Maintain indoor humidity within a range suitable for the flooring manufacturer and local conditions.
Rugs can help protect high-traffic areas, but choose backing materials compatible with the finish.
Avoid dragging heavy furniture across the floor, even when the protective coating has fully cured.
These habits reduce unnecessary wear and help delay future refinishing.
When Hardwood Floor Replacement Is the Better Option
Although refinishing can restore many worn hardwood floors, some conditions justify replacement.
Severely damaged boards, extensive rot, repeated moisture exposure, and inadequate remaining wood thickness may make sanding impractical.
Certain engineered hardwood products have wear layers too thin for conventional refinishing.
Floors with widespread structural deterioration may also require more extensive repairs.
Localized board replacement can sometimes preserve the majority of the existing floor.
Before committing to full replacement, obtain an assessment of the flooring’s construction, condition, and remaining refinishing potential.
This helps homeowners avoid unnecessary expenses while ensuring that damaged materials are addressed properly.
Final Thoughts
Hardwood floor refinishing techniques provide effective ways to restore scratched, dull, and worn wooden surfaces without automatically replacing the entire floor.
Minor scratches may respond to compatible touch-up treatments, while screen-and-recoat methods can refresh aging protective finishes. More extensive wear may require careful sanding, localized board repairs, staining, and new protective coatings.
The best restoration method depends on the type of hardwood, remaining wear layer, severity of damage, and condition of the underlying structure.
With proper preparation, suitable finishing materials, and consistent maintenance, homeowners can extend the lifespan of their hardwood flooring while restoring the natural beauty and warmth that make wooden floors a lasting feature of interior design.