Choosing Camera Tripods? Avoid the Mistakes Most People Make
A tripod seems like one of the simplest pieces of photography gear. Three legs, a head, a mount. Yet it is also one of the most frequently regretted purchases, because many photographers buy on impulse and discover the problems only when they are standing in a windy parking lot at sunset or trying to squeeze a heavy tripod into a carry-on bag. The wrong choice either stays at home collecting dust or produces soft images despite all the effort of setting it up.
This article looks at the mistakes people most often make when choosing and using a tripod, and how to avoid each one. It is written for hobbyist photographers stepping up from handheld shooting, content creators who film with mirrorless or compact cameras, and travelers who want sharper low-light shots without hauling studio gear. Instead of chasing a single perfect model, the goal is to help you match a tripod to how and where you actually shoot, then set it up in a way that delivers the sharpness you paid for.
Mistake: Buying Only for the Camera You Own Today
Many photographers choose a support that just barely handles their current body and kit lens. Then they add a longer zoom, a microphone, or a small monitor, and the setup suddenly droops, creeps, or sways. A tripod that works at its limit leaves no margin for the gear you will realistically add over the next few years.
When browsing Camera Tripods, think about your likely future kit rather than only today’s. If you are planning to move into video, account for accessories like lights and audio recorders. If you are drawn to wildlife or sports, expect heavier lenses. Choosing a model with comfortable headroom above your current load keeps the head from slipping and prevents that frustrating slow tilt that ruins long exposures.
The opposite mistake happens just as often. Buying a heavy, oversized tripod for a lightweight camera usually means it stays in the closet. Honest self-assessment about the gear you will carry, and how often you will carry it, leads to a better decision than chasing maximum capacity.
Mistake: Ignoring Where You Actually Shoot
A tripod that performs perfectly in a studio can be awkward on uneven rocks, crowded sidewalks, or a restaurant table. Before buying, list the three or four places you shoot most often. Landscape photographers need legs that adapt to slopes and loose ground. Vloggers filming at desks need something compact that sits on a tabletop. Event shooters need a footprint small enough to avoid tripping guests.
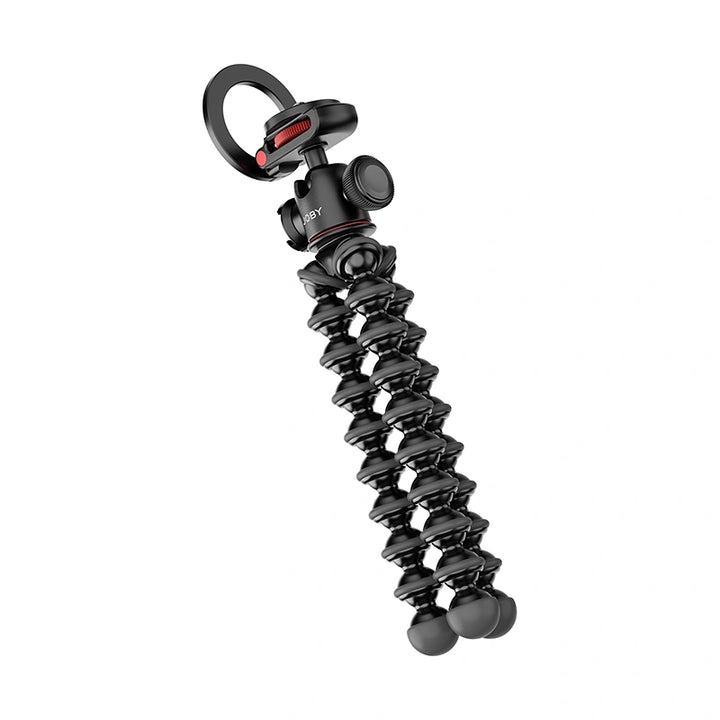
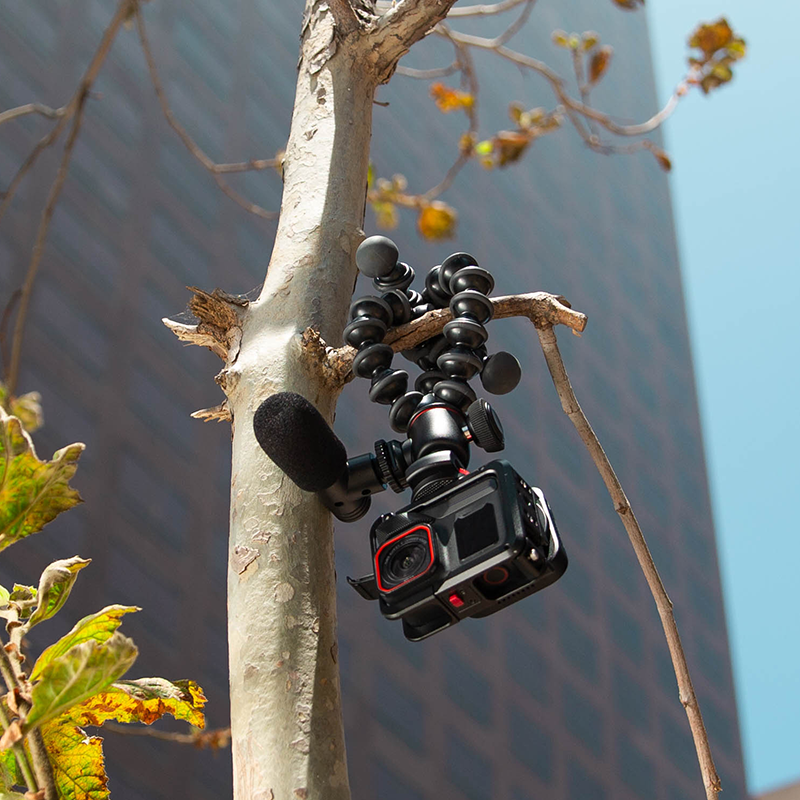
Flexible-leg designs deserve special mention here. Instead of rigid legs, they use bendable segments that can wrap around a railing, a tree branch, or a lamp post, opening up shooting positions a traditional tripod cannot reach. JOBY built its reputation on this approach, and it remains a practical choice for photographers who work in unpredictable environments where flat ground is rare.
Height matters too, but not in the way most people assume. A tripod that extends very tall is not useful if you never shoot from that height, and extra sections add weight and potential wobble. Choose a working height that matches your eye level or your most common framing. A slightly shorter tripod that stays steady beats a tall one that sways.
Mistake: Underestimating Weight and Portability
The best tripod is the one you bring. That old saying holds up because weight quietly determines how often a tripod leaves home. A support that feels fine in a store can become a burden by the third mile of a hike or the second day of a city trip.
Pick up the tripod and imagine carrying it all day, strapped to a backpack or tucked in a tote. Consider how it collapses. Does it fold short enough to fit your usual bag, or will it always stick out awkwardly? Travelers often benefit from a compact model paired with smart technique, since walls, benches, and railings can supplement a smaller tripod when extra height is needed.
Materials influence the balance between weight and stiffness, but the real test is practical. If you hesitate before packing it, the tripod is probably too heavy for your shooting style.
Mistake: Treating the Head as an Afterthought
Many buyers focus on the legs and overlook the head, even though the head is what you touch every time you adjust a shot. A head that is difficult to lock, slips under load, or lacks smooth movement makes every session slower and more frustrating.
Ball heads offer quick, free movement in every direction, which suits photographers who change composition frequently. Pan-and-tilt designs separate horizontal and vertical movement, which helps with precise architectural framing and smooth video pans. Whatever style you choose, test that it locks firmly with a modest twist and holds the camera without drifting after you let go. A quick-release plate is also worth prioritizing, because switching between handheld and tripod shooting becomes a matter of seconds instead of fiddly screwing and unscrewing.
Setup Mistakes That Undo a Good Tripod
Even an excellent tripod produces soft images if it is set up poorly. A few field habits make the biggest difference between a tripod that merely holds the camera and one that truly steadies it.
Extending the Thinnest Sections First
Leg sections get narrower toward the feet, and the thinnest ones flex the most. Extend the thickest, upper sections first and only use the lower ones if you need more height. The same logic applies to center columns, which act like a lever and magnify vibration when raised high. Treat the center column as a last resort for extra height rather than a default.
Skipping the Level Check
A tilted horizon is easy to miss on a small screen and tedious to fix later, since straightening an image crops away part of the frame. Use your camera’s electronic level or a bubble level on the head, and adjust leg lengths rather than tilting the head to compensate. A level base also makes panoramas stitch together cleanly.
Forgetting About Vibration
Pressing the shutter by hand can shake the camera even on a sturdy tripod. Use a remote release, your camera’s companion app, or a short self-timer delay. On windy days, hang a bag from the center hook if your tripod has one, keeping it just off the ground so it does not swing. For long exposures, consider turning off lens stabilization while the camera is locked down, since some systems can introduce tiny movements while searching for shake that is not there.
Matching Tripod Style to the Way You Shoot
Different photographers need different supports, and recognizing your own category simplifies the decision considerably. These pairings cover the most common situations:
- Travel and street photographers: a compact, lightweight tripod that fits in a daypack and sets up quickly.
- Landscape and night photographers: a stable full-height tripod with a secure head for long exposures.
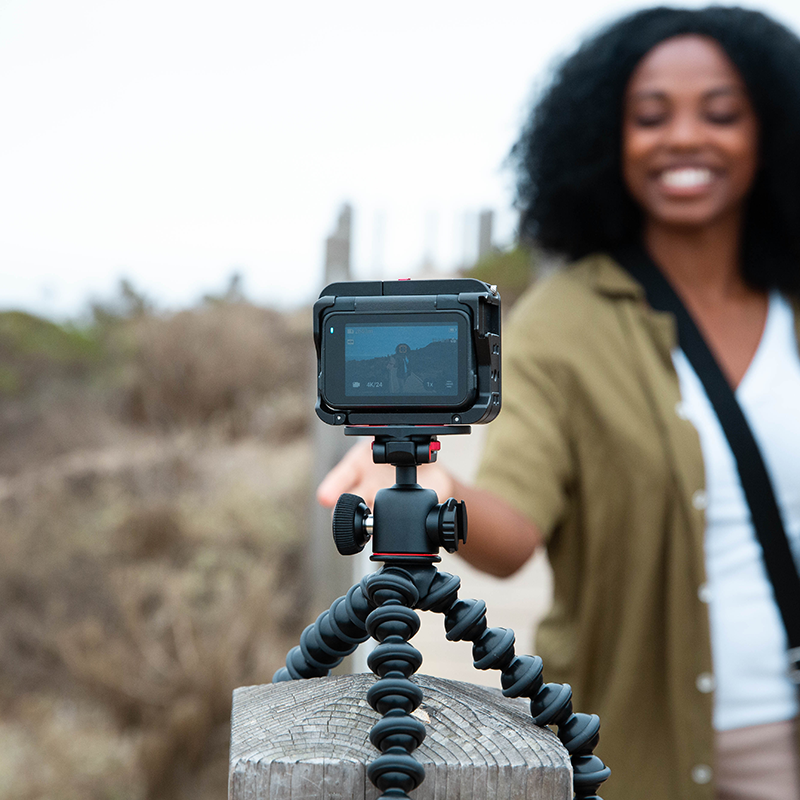
- Vloggers and desk creators: a tabletop or flexible-leg tripod that doubles as a handheld grip.
- Hybrid shooters: a mid-size tripod with a head that handles both stills and smooth video pans.
Some photographers eventually own two tripods, a small one for everyday carry and a larger one for planned shoots. That approach is often more practical than forcing a single model to do everything, and it ensures you always have some form of support with you when the light turns interesting.
Choose Wisely, Shoot Sharper
Most tripod regrets come from a mismatch between the gear and the photographer’s real habits. Buying only for today’s camera, ignoring your usual locations, overlooking weight, and neglecting the head are the choices that most often lead to disappointment. Setup habits matter just as much. Extending the thickest leg sections first, leveling the base, and triggering the shutter without touching the camera turn any decent tripod into a reliable tool for sharp images.
Before your next purchase, take a moment to picture where you will carry the tripod, what you will mount on it, and how you will use it on an ordinary shooting day. That simple exercise filters out the wrong options quickly. With the right support and a few careful field habits, low-light scenes, long exposures, steady video, and self-portraits all become easier, and the tripod earns its place in your bag rather than gathering dust in a closet.