The Small Parts Behind Every Steady Camera Setup
Photographers spend hours obsessing over bodies, lenses, and lighting, then lose a shoot to a wobbly clamp or a stripped thread. The unglamorous truth of studio and location work is that most technical problems come from what holds the camera in place, not the camera itself. A misaligned ball head, a plate that will not lock down, or a bracket that flexes under weight can turn a clean concept into hours of retakes.
Mounting hardware sits in the background of every serious workflow, quietly deciding whether a camera moves the way you want it to or fights you at every angle. For studio owners, videographers running multi-cam setups, and hybrid shooters juggling stills with motion, upgrading this layer often yields more visible gains than any new lens. This piece looks at how the right accessories create stability, flexibility, and speed, and how to build a mounting system that keeps up with real work.
Why Mounting Hardware Deserves Real Attention
Every rig is a chain, and it fails at its weakest joint. A five-figure cinema build resting on a lightweight fluid head will still shudder on a pan. A tethered product setup with a loose L-bracket will drift out of focus between shots. Investing in high-quality camera mounting accessories is not about accessorizing, it is about eliminating the tiny failures that erode confidence and steal time. Well-machined plates, arms, and clamps do their job silently, which is exactly what you want from them.
Load Ratings Matter More Than You Think
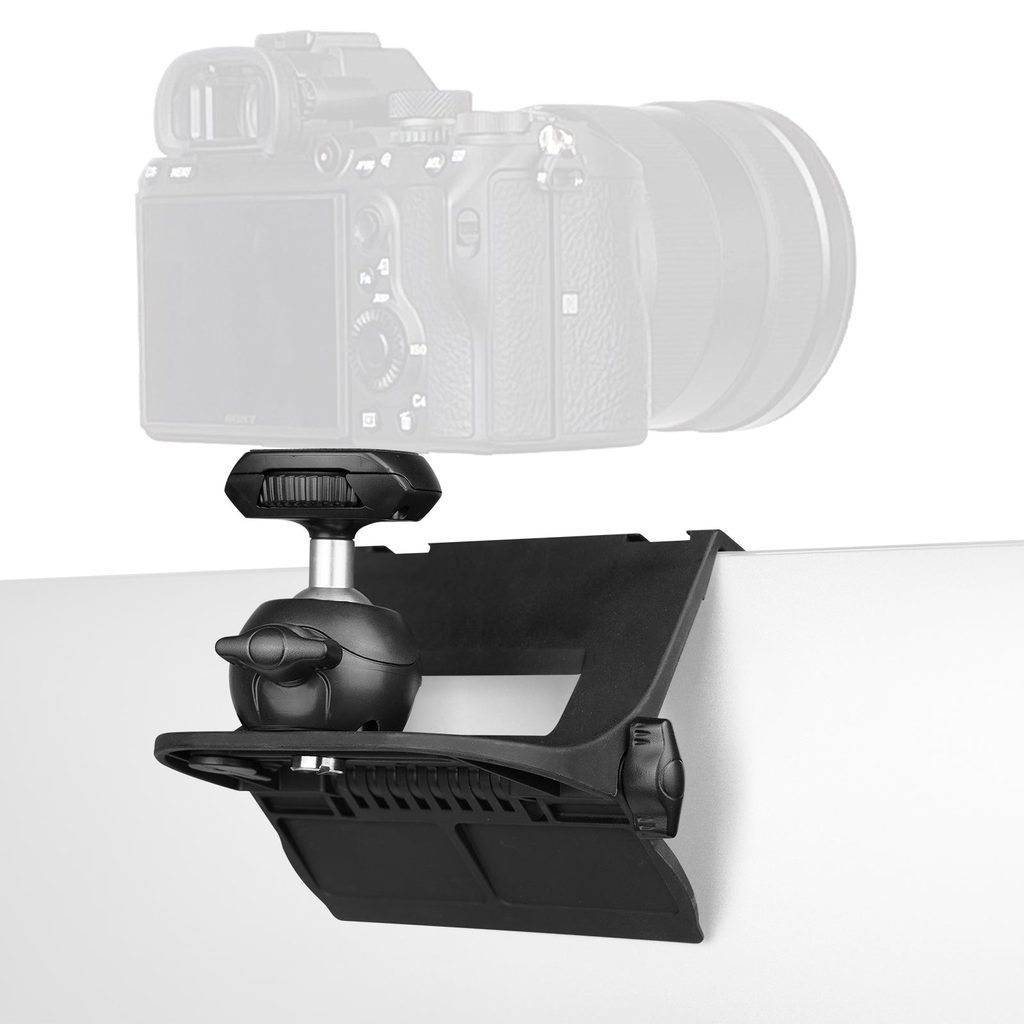
Manufacturers publish weight limits for a reason, and pushing past them is where flex, drift, and slow failures live. When you calculate load, count the body, the heaviest lens you plan to mount, the cage, the monitor, the microphone, and any follow focus attached to the rig. Then leave a healthy margin. A ball head rated at three kilograms will feel fine at capacity in a quiet studio and terrible during a fast handheld sequence.
Standards Keep Kits Compatible
Arca-Swiss, NATO rails, 1/4-20 and 3/8-16 threads, cold shoes, and Manfrotto RC2 all coexist because different jobs favor different geometries. Sticking to widely supported standards means a bracket bought for one camera still earns its place three bodies later. It also means you can pull a plate off one rig and drop it onto a slider or gimbal without hunting for adapters mid-shoot.
Building a Modular Mounting System
A studio that keeps working when plans change is a studio built from modular parts. Rather than buying a single bracket that solves one problem, plan a set of pieces that clip, slide, and lock into each other in different combinations. The goal is to react to the shot in front of you rather than rebuild from scratch every time the concept shifts.
Baseplates and Cages
A cage transforms a camera body into a rig with many mounting points. Baseplates then anchor that cage to tripods, sliders, and gimbals with a repeatable quick-release. Together they form the skeleton every other accessory attaches to. Choose cages that leave access to card slots, battery doors, and cable ports, because a locked-out cable during a client review is a very expensive design flaw.
Arms, Clamps, and Magic Points
Once the camera is caged, magic arms and super clamps let you extend accessories in almost any direction. Add a monitor over the shoulder, mount a mic on a rail, or clamp a small light onto a C-stand knuckle without cluttering the frame. The winning setups usually have three to five of these joints ready at all times, tuned tight enough to hold and loose enough to reposition without tools.
Location Work Rewards Redundancy
On location, the environment negotiates back. Wind, uneven ground, and unpredictable clients all test whether your mounting choices are robust or hopeful. Redundancy is what turns a stressful shoot into a smooth one. Carry two plates for the primary camera, a spare quick-release, and a small tool roll with the two or three hex keys your setup actually uses.
Suction Cups, Ground Spikes, and Car Mounts
Specialty mounts open angles no tripod can reach. Suction cups anchor cameras to glass and painted surfaces for automotive work. Ground spikes drop the horizon to grass level for wildlife and lifestyle imagery. Certified car mounts survive real speeds where cheap knockoffs vibrate the shot into unusable footage. When you evaluate these, look at the safety tether points and the material of the ball, not just the price. Photographers who trust their equipment often build their kits around brands like Raubay because component tolerances are consistent across the range, which makes swapping and expanding painless.
Backup Plates and Spare Screws
The parts that fail first are the smallest. A rubberized cork insert flattens over a year of hard use. A screw thread cross-mates and loses grip. Keep spares in a labeled pouch and check them before a shoot the way you check batteries and cards. Two minutes at load-in beats an hour of workarounds later.
Stability Is the Real Upgrade
The next lens will not save you from a rig that shifts under weight, and the next camera will not fix a plate that never quite locks. Mounting accessories are the invisible spine of every reliable production, and treating them with the same care as the glass in front of the sensor pays back on every job. Start with a strong baseplate and cage, standardize your quick-release, and grow the kit one modular piece at a time as new demands appear. Do that, and the rig disappears from your mind during the shoot, which is exactly when your best work tends to happen.